The Most Misunderstood Variable in Lifting
Ask ten different gym-goers whether you should train to failure and you'll get ten different answers. Half will tell you failure is the only way to grow — "no pain, no gain," every set until you can't move the weight. The other half will tell you it's dangerous and unnecessary, that professional athletes never train to failure.
Both camps are wrong. Or rather, both are right in specific contexts.
Training to failure is a tool. Like most tools, it's useful when used correctly and counterproductive when misapplied. Understanding when to push to the limit — and when to stop short — is one of the most valuable things you can learn about programming your training.
What "Training to Failure" Actually Means
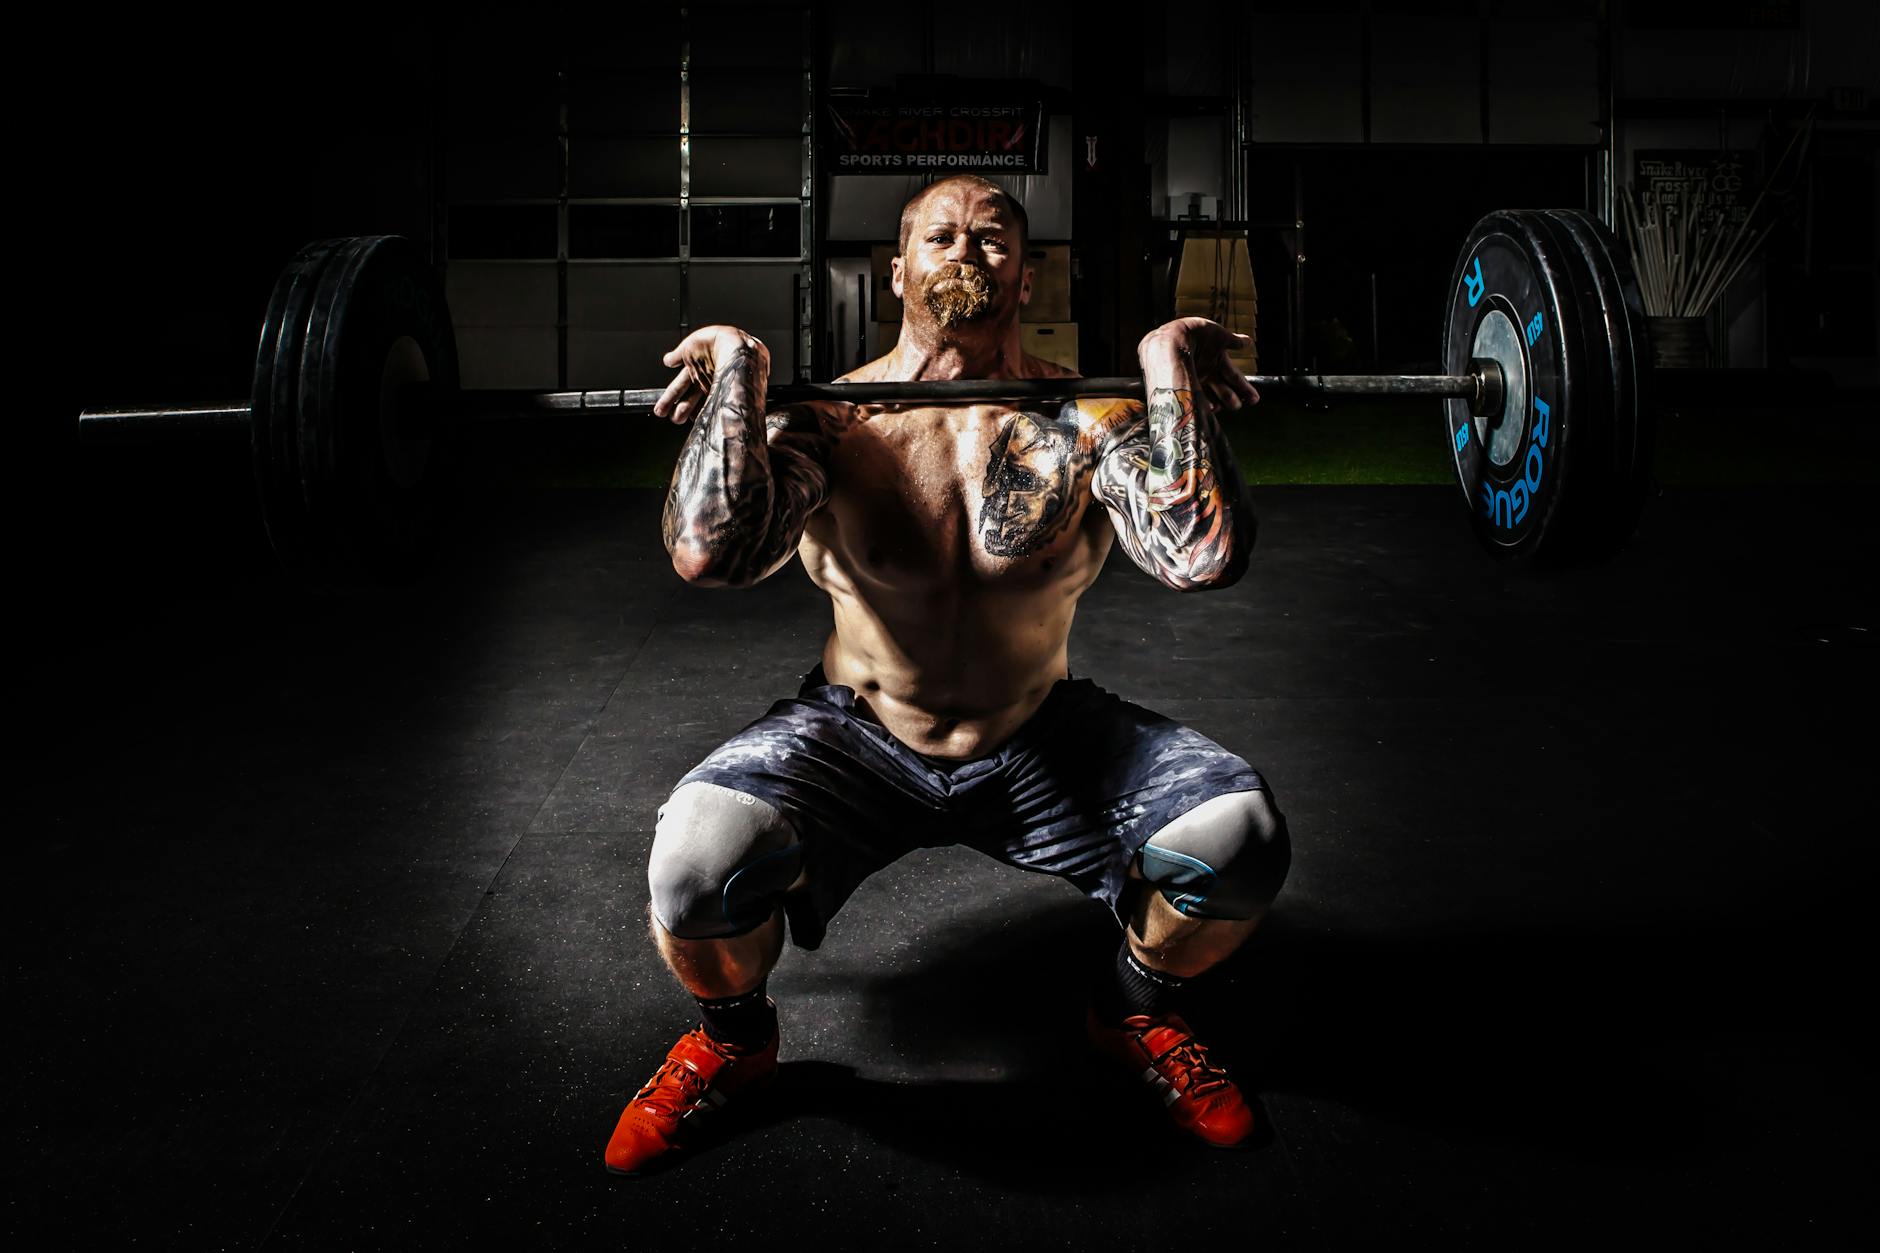
Technical failure is the point at which you cannot complete another rep with acceptable form. Your muscles have exhausted the available motor units; you physically cannot produce enough force to move the weight again.
There are different types of failure worth distinguishing:
Concentric failure (true failure): You cannot lift the weight one more time. The rep would stall mid-movement.
Technical failure: Your form breaks down before pure muscular failure — your back rounds, your knees cave, your elbows flare. For most people, this comes before true failure.
Volitional failure: You *choose* to stop because it's uncomfortable, even though you could do more reps. This isn't failure — it's quitting early.
Most training advice about failure is actually about technical failure. Going to volitional failure just because it's hard is undertraining. Going past technical failure is ego lifting with an injury attached.
The Case For Training to Failure
The argument for failure training is grounded in motor unit recruitment.
Your muscle fibres aren't all engaged at once. Your body recruits motor units on a size principle — smaller, less powerful units first, then progressively larger units as fatigue increases. High-threshold motor units, which contain the largest and most growth-prone muscle fibres, are only fully recruited when the smaller units can no longer handle the load.
Going to failure guarantees full motor unit recruitment. Every fibre that can contribute to the movement will have been stimulated by the time you can't lift any more.
The practical implication: if you stop too far from failure, those high-threshold fibres may never get adequately stimulated — regardless of how many sets you do.
Research backs this up. Studies consistently show that training closer to failure produces more hypertrophy than stopping well short of it. A 2021 meta-analysis found that sets taken close to failure (0–3 reps in reserve) produced significantly more muscle growth than sets stopped 4+ reps early, even when volume was equated.
The Case Against Always Training to Failure
So if failure drives growth, why not go to failure on every single set?
Because failure is expensive.
Fatigue accumulates fast. Sets taken to true failure generate significantly more systemic and local fatigue than sets stopped 2–3 reps short. If your programme runs high volume (10–20 working sets per muscle group per week), going to failure on every set will crater your recovery and likely force you to reduce total volume — which wipes out the benefit.
Injury risk rises near failure. Form breaks down at failure. The rep you grind out when your lower back starts rounding, your knees drift inward, or your shoulder impinges is the rep that causes problems. Proximity to failure increases the chance of a technical breakdown, which increases injury risk.
CNS fatigue is real. Heavy compound lifts taken to failure — squats, deadlifts, heavy pressing — create substantial neurological fatigue that doesn't recover within 24–48 hours. Accumulate this repeatedly and your performance suffers, even when the muscles themselves have recovered.
Quality of subsequent sets declines. If you go to failure on set 1, your set 2 and set 3 will be significantly worse. You might get 5 reps on set 1, 3 on set 2, and 2 on set 3. Stop 2 reps short on every set and you might get 7, 6, and 6 — far more total quality reps for the same muscle.
The Research Consensus: Proximity to Failure Matters More Than Reaching It
Here's what the evidence actually shows: you don't need to hit failure — you need to get close to it.
Training within 0–3 reps of failure (what coaches call "reps in reserve" or RIR) produces hypertrophy roughly equivalent to training to absolute failure, with substantially less fatigue, lower injury risk, and better volume capacity.
The sweet spot for most exercises is 1–3 RIR:
- You're stimulating all the high-threshold motor units
- You're not grinding out the form-breaking final rep
- You can recover in time to hit the next session effectively
- Your total weekly volume stays high
Stopping at 4+ RIR is generally too comfortable for hypertrophy — you're leaving stimulus on the table. Going to 0 RIR (true failure) every set is too aggressive for high-volume training.
When Failure Training IS the Right Tool
Failure isn't banned — it's contextual. There are specific situations where going all the way makes sense.
Last set of an exercise. If you're not going to do another set of this movement today, the fatigue cost is less relevant. The last set of your final exercise for a muscle group is a reasonable place to push all the way.
Isolation exercises on small muscle groups. Going to failure on a cable curl or lateral raise is very different from going to failure on a squat. The fatigue cost is local and manageable. Isolation movements at the end of a session are low-risk places to push the limit.
Deload alternatives. When running low-volume, low-frequency blocks (a structured deload, or a week where life is getting in the way), higher intensity per set — including failure — can maintain stimulus with less total volume.
Tracking your real maximum. Going to failure occasionally gives you accurate data on your genuine strength levels. This is useful for calibrating your working weights and RIR estimates.
The Practical Framework: How Close Is Close Enough?
If you can't accurately estimate your RIR, training to failure is actually a useful calibration tool. Here's a simple way to develop this skill:
- Pick an exercise and a weight you can do for roughly 10–12 reps.
- Set a timer and do reps until you genuinely can't continue with good form.
- Note how many reps you got.
- Next time, stop 2 reps before that number. That's your 2 RIR.
With practice, you'll develop the ability to feel where failure is without reaching it. Most experienced lifters can estimate RIR to within 1–2 reps across most exercises. Beginners tend to underestimate how close they are — they stop too early, thinking they're at 1 RIR when they're at 4.
Compound movements (squats, deadlifts, bench press) are harder to gauge accurately. Your form degrades, fear kicks in, and you may stop before true technical failure. Isolation movements feel more obvious — your bicep either contracts or it doesn't.
Putting It Together
A practical failure-training approach for most people running a hypertrophy programme:
- Working sets 1 to N-1: Stop at 1–2 RIR. Full motor unit recruitment, manageable fatigue, better quality across all sets.
- Final set of each exercise: Push to 1 RIR or occasionally true failure if it's an isolation movement and you're near the end of the session.
- Compound lifts: Stay conservatively at 2–3 RIR. The fatigue and injury cost isn't worth grinding these to complete failure regularly.
- Isolation movements at end of session: Going to failure is fine — low fatigue cost, high stimulus.
If you're chronically undershooting intensity and progress has stalled, push closer to failure. If you're always grinding to failure and can't recover between sessions, back off.
Tracking Effort Properly
The problem with effort tracking is that it's invisible to most apps. You log "3 sets x 10 reps x 80kg" and that's it — whether you were at RPE 6 or RPE 10 is lost.
Soma tracks RPE on every set, which gives you a real picture of training effort over time. If your sets cluster around RPE 7 week after week, the AI knows you're training with too much in the tank. If everything is RPE 10, it'll flag the recovery risk before it becomes a problem.
Over time, your RPE data tells a story — and Soma uses it to make your programme smarter, not just your schedule full.
Download Soma free on the App Store and start tracking effort the way it actually matters.